Stitching a Predatory Worm: A Designer’s Practical Review
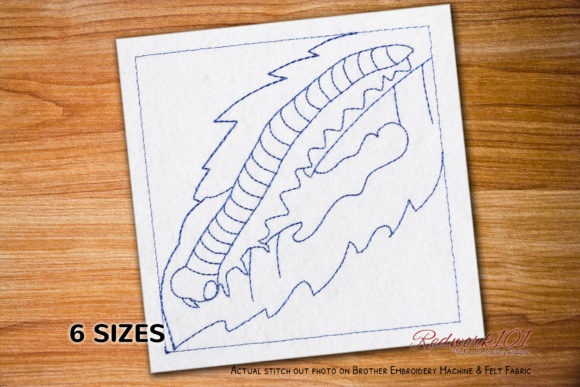
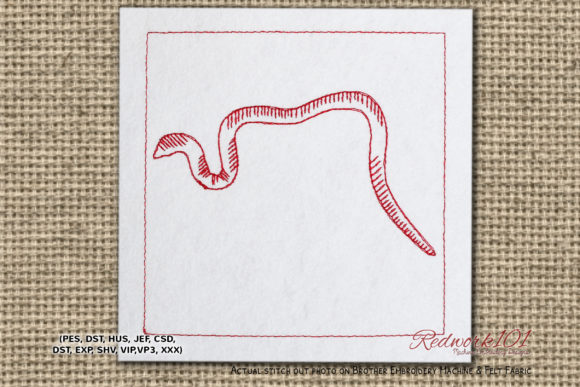
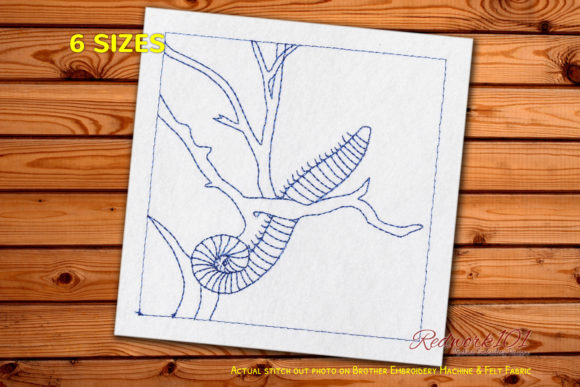
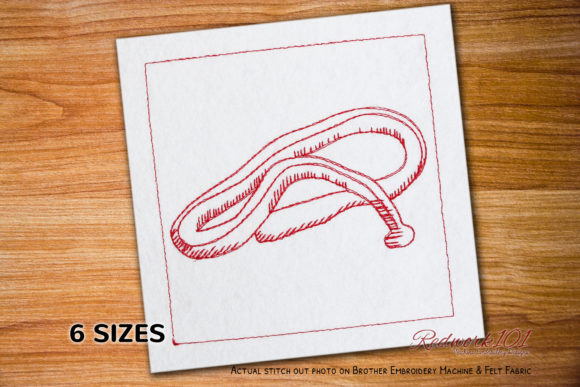
Let’s talk about Giant Predatory Worm Lineart. As a designer who evaluates embroidery files for real project use, the first thing I do is visualize it stitched out, not just on screen. This design immediately presents a bold, graphic silhouette. It’s less about a literal bug and more about a striking, almost sci-fi creature shape. The mood is playful yet edgy, perfect for tapping into that niche love for monster aesthetics without being overly scary. The lineart style means it’s all about clean outlines, offering a fantastic opportunity for crisp satin stitches or even a clever running stitch for a sketched effect.
The Perfect Project Match: Where This Worm Thrives
I recently considered this design for a custom tote bag for a client who loves unconventional natural history art. The thought process was straightforward: a large, graphic creature like this needs space to shine. It’s a natural fit for statement pieces. Imagine it on a heavyweight cotton sweatshirt, the dark thread lines creating a stark, eye-catching contrast. For a craft business, this could be a standout item on an apron for a quirky kitchen, or a bold patch on a backpack. Its personality screams for products aimed at a specific, confident audience—think boutique merchandise for gamers, fantasy lovers, or anyone wanting to break away from floral motifs.
For baby items or nursery decor, you’d want to be selective. On a dark-colored baby blanket with a softer color palette for the worm itself—maybe a teal or gray instead of black—it could work as a fun “monster” theme. But its predatory name and sharp shape mean it’s better suited for older kids or adult gifts. As a personalized gift, say for a biologist with a sense of humor, embroidered on a lab coat patch or a pillow cover, it becomes uniquely personal and highly engaging.
Navigating the Stitching Practicalities
Now, for the hands-on part. The description notes the box stitch is optional, and the outer box color is often different. This is crucial. In practice, that means you can skip that outer box entirely for a cleaner, more integrated look, treating the worm outline as the complete design. This flexibility is excellent for adapting to different products.
However, the lineart nature demands attention to detail. On textured fabrics like some canvas totes or thick sweaters, very thin lines might get lost. A good stabilizer is essential here to maintain stitch clarity. On curved surfaces like caps, the long, flowing shape of the worm could be fantastic, but you must test the design orientation to ensure it fits the cap’s curve without distortion. For small hoop sizes, be cautious. Scaling this down significantly might turn fine details into a dense, muddy blob. It’s a design that benefits from a medium to larger hoop, letting those predatory curves breathe.
Thread color contrast is your best friend. On dark fabric, a bright outline in white or silver could be stunning. On light fabric, the classic black or a deep navy gives it that graphic punch. Always stitch it out on scrap fabric first. This lets you check stitch density—too dense fill in the lines could make it stiff on apparel—and inspect any tiny corners or junctions in the lineart that might need a slight manual adjustment in your machine settings.
Where Caution is Needed: Making Smart Choices
This design wouldn’t be my first pick for thin, stretchy fabric like a lightweight t-shirt without careful stabilization, as the concentrated stitching could stress the fabric. Similarly, for items needing frequent washing, like kitchen towels, a simpler fill might be more durable than complex outlining, depending on your stitch choice. The key is matching the design’s ambition to the product’s function.
For commercial embroidery projects or digital product sellers creating mockups, this Giant Predatory Worm Lineart is a strong asset. Its clear, recognizable shape looks professional in printable mockups, helping sell the idea to customers. For an Etsy seller offering custom patches, it’s a ready-made, conversation-starting design that adds value to a listing. It boosts buyer engagement because it’s distinctive. It’s not a generic butterfly; it’s a statement.
Affecting Perception and Value
Using a design like this affects customer trust and your brand consistency. If your shop vibe is playful, bold, or niche, this aligns perfectly, reinforcing your handmade presentation as thoughtful and curated. As a gift, it’s highly recognizable and memorable, which increases its giftability. For the maker, it offers a clear path: stitch it well on a suitable product, and it elevates the item from a simple craft to a designed product.
Final Designer Notes Before You Hoop
My absolute recommendation is to test it in both black and white digital mockups against light and dark backgrounds to pre-visualize. This saves time and material. Confirm the licensing terms for this embroidery file before using it for commercial projects or selling finished items. Since specific details like exact stitch count or file formats aren’t provided here, always verify those with the source before starting a project.
For machine embroidery, consider whether you’ll treat it as a pure lineart with running stitches or give it more body with satin stitches. That decision changes the thread consumption and final texture. On a tote bag or pillow cover, a denser satin stitch might feel more luxurious. On a sweatshirt, a lighter running stitch might be more comfortable and flexible.
In essence, Giant Predatory Worm Lineart is a versatile, mood-setting design for the right audience and product. It asks for a bit of planning—fabric choice, stitch type, scale—but rewards you with a finished product that has strong visual appeal and clear personality. It’s a design that, when executed with these practical considerations in mind, can become a standout piece in any embroidery project lineup, from a hobbyist’s gift to a small shop’s bestselling merchandise.